by Larry Stang
In the first two blogs, we discussed why I roast my own coffee beans and the basics of the roasting process, but how do I actually roast the beans?
Roaster Options – What Works Best
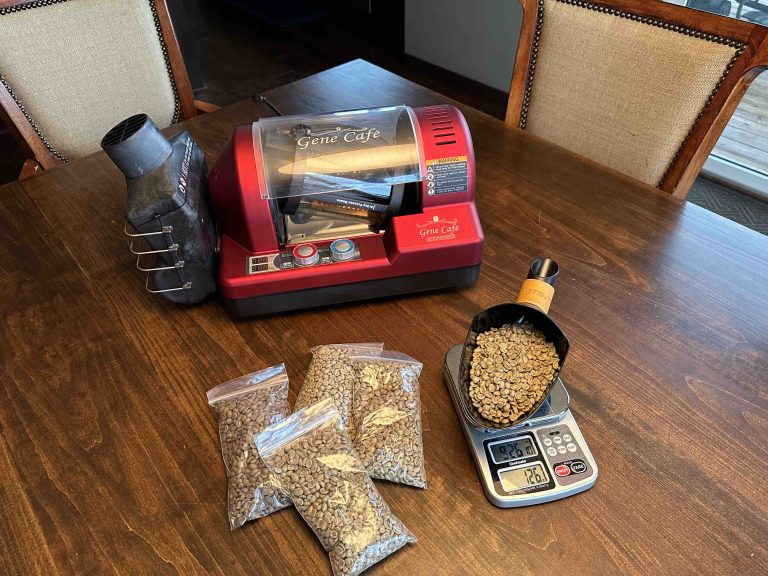
First, I should touch on the roaster. If you are lucky enough to afford a Hot Top roaster, this is most like conventional or commercial roasters. It uses heating elements, a rotating drum, and a fan to heat radiantly and by convection. A more economical roaster is the fluid bed roaster, which uses hot air to both heat and agitate the beans for even roasting. This, in essence, is the popcorn popper. The Fresh Roast SR800 is what I graduated to when I realized I was hooked. Currently, I am using the Gene Café, which is a hybrid of the two and has just the right capacity for our coffee consumption.
In the beginning, however, most people will start with the popcorn popper so that is what I will describe. One last note before starting, it is best to have a roast level in mind. For me, I like a dark roast, so when I sourced my first beans, I looked for something with a good profile for that roast. Sweet Maria’s has a great graphic to help you choose green beans. Click this link for an example: Costa Rica Tarrazu Cafetales de Dota (sweetmarias.com).
Getting Started with the Popcorn Popper
Set up your popper in a well-ventilated area. Outside is best, but if it’s too cold and you have a good vent in your kitchen, that will work. Just be careful as I have had the fire alarms going off more than once. Also, be prepared with your broom as the chaff will make a mess.
- First, measure out how many beans you want to roast. In the popcorn popper, I use between 60-90 grams.
- Next, preheat the popper for about two minutes. Then drop in the beans and start your timer. Leave the popper’s plastic top off so that you can use a stick to help agitate the beans in the beginning. This will help the beans roast evenly.
- After a few minutes, the beans lose some moisture and expand. Eventually, the air flow will be enough to turn the beans. All along you want to observe with sight, smell, and hearing.
- Mark down when you hear first crack and second crack and when the beans are done. This will help you refine your process. Because it is hard to hear the cracks with the noise of the popper, I find it easier to watch for the little black flakes that are evident of second crack and judge roast completion by color.
- Remember that 80% chocolate bar? Some beans can be oily, and at the end of the roast you may see a sheen from the oil or even some shinny spots. When you are at your desired roast level, dump the beans into a bowl and stir to cool them down as quickly as possible. This stops the roasting process so you don’t overshoot your target.
- Lastly, put the beans in a container with a loose fitting lid as they will need to off gas for about five hours. I prefer overnight.
Now that you are ready for your first cup of the freshest coffee you have ever had, for the love of God, don’t ruin it with too much cream and/or sugar. Better yet, just drink it black as it was meant to be enjoyed. Now that I think about it I might need to do another blog later this year on how to brew coffee….
For anyone who’s interested, I am happy to set up a group coffee roasting demonstration. Email me if you are interested! As a reminder from prior posts, here is the link to Sweet Maria’s popcorn popper. The Sweet Maria’s website contains a wealth of roasting resources.
Enjoy!